The
Guest Post series is getting some amazing response and I am thankful to all the
new visitors to my blog. I hope you continue to enjoy the posts and keep
showering us with your love.
Guest Post series is getting some amazing response and I am thankful to all the
new visitors to my blog. I hope you continue to enjoy the posts and keep
showering us with your love.
Tomorrow
is Holi, the most favourite festival of Mumbaikars, so let’s add more colour to
it by welcoming the So-Saree queen, Aditi. We worked in the same organization,
but we hardly got time to interact much. We both had one thing in common, our
love for ‘Sarees’. One more thing that I admired about Aditi was the way she
styled her nails, with simple and colourful nail-art. So when I approached her
for a guest post, she immediately agreed to write about nail-art.
Join
me in welcoming Aditi, with her colourful post.
me in welcoming Aditi, with her colourful post.
 |
| Stunning! |
******************
Nail
Art for Beginners.
Art for Beginners.
Heartiest
congratulations to my friend Gayatri on completing 4 years of blogging.
I would have really liked to tell you guys, how much I respect and admire
Gayatri, but let me just leave that for another post.
congratulations to my friend Gayatri on completing 4 years of blogging.
I would have really liked to tell you guys, how much I respect and admire
Gayatri, but let me just leave that for another post.
Today I would
like to write about a topic that is an inseparable part of my life…Nail Art.
Nail Art is something I have been doing since my early college days. Though it
looks tedious and complicated, it is not that tough.
like to write about a topic that is an inseparable part of my life…Nail Art.
Nail Art is something I have been doing since my early college days. Though it
looks tedious and complicated, it is not that tough.
Today I am going
to share some easy nail art tricks that might help you to get started.
to share some easy nail art tricks that might help you to get started.
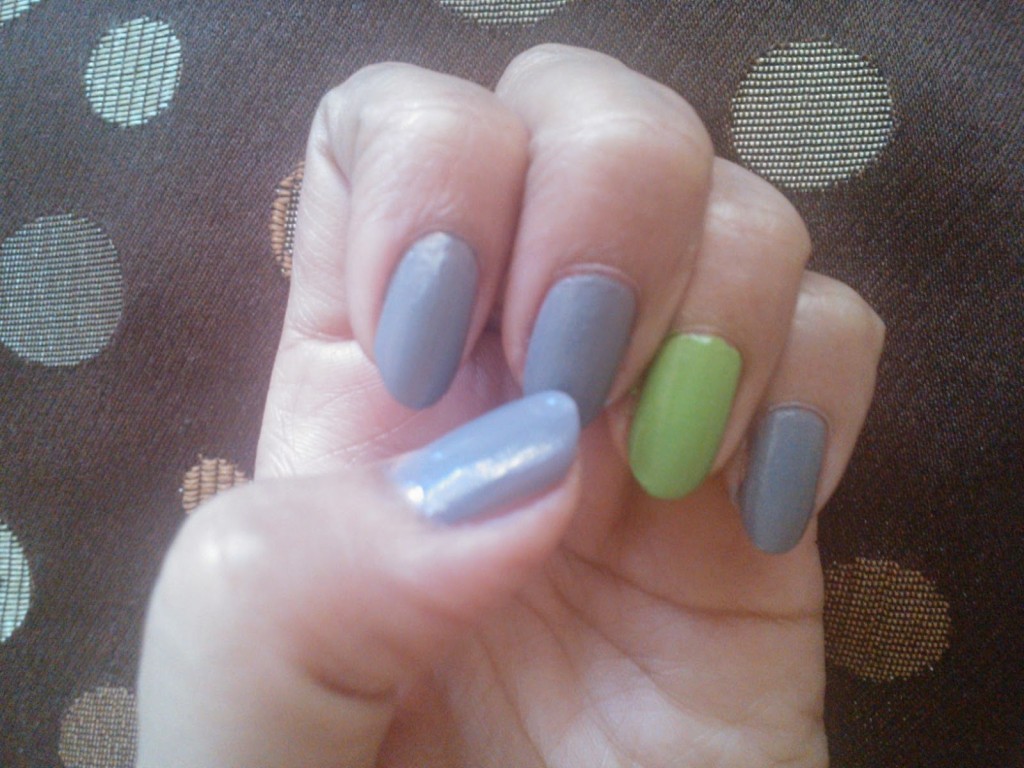 |
| Multi Coloured Nails |
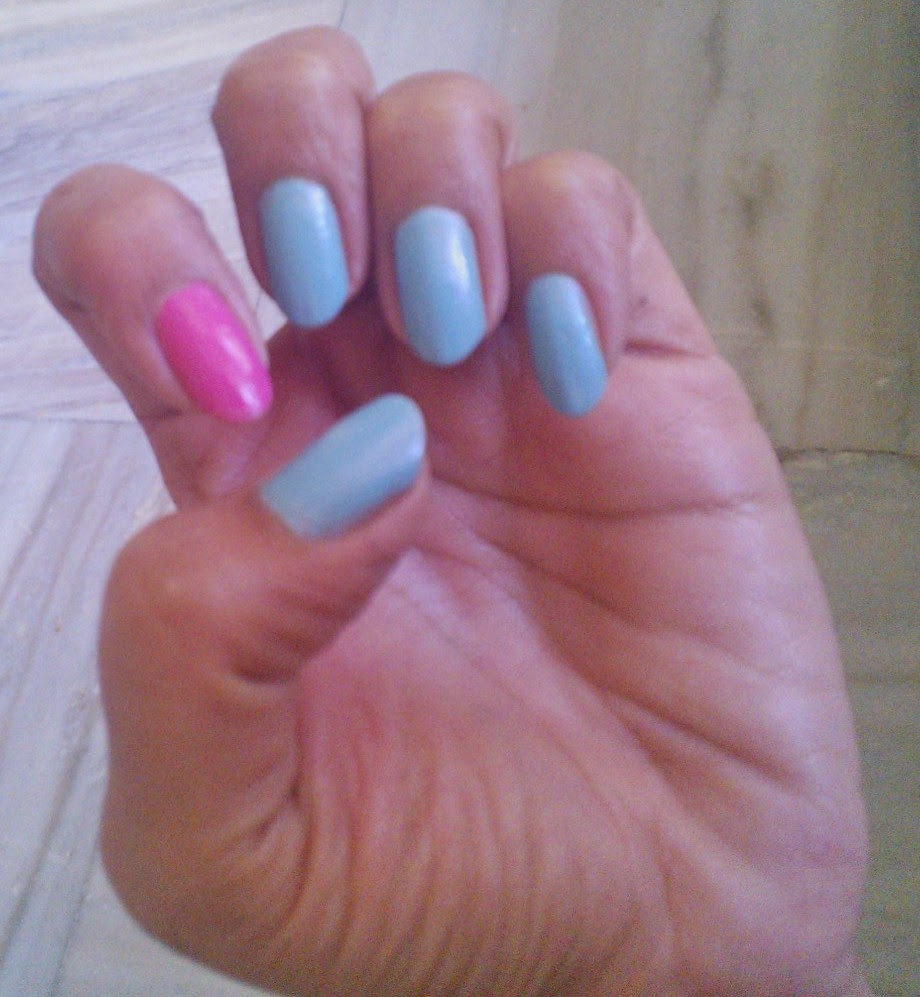
Multi
coloured nails. : This is how I started. Just give your nails a peppy look, by
using two or more shades on different nails
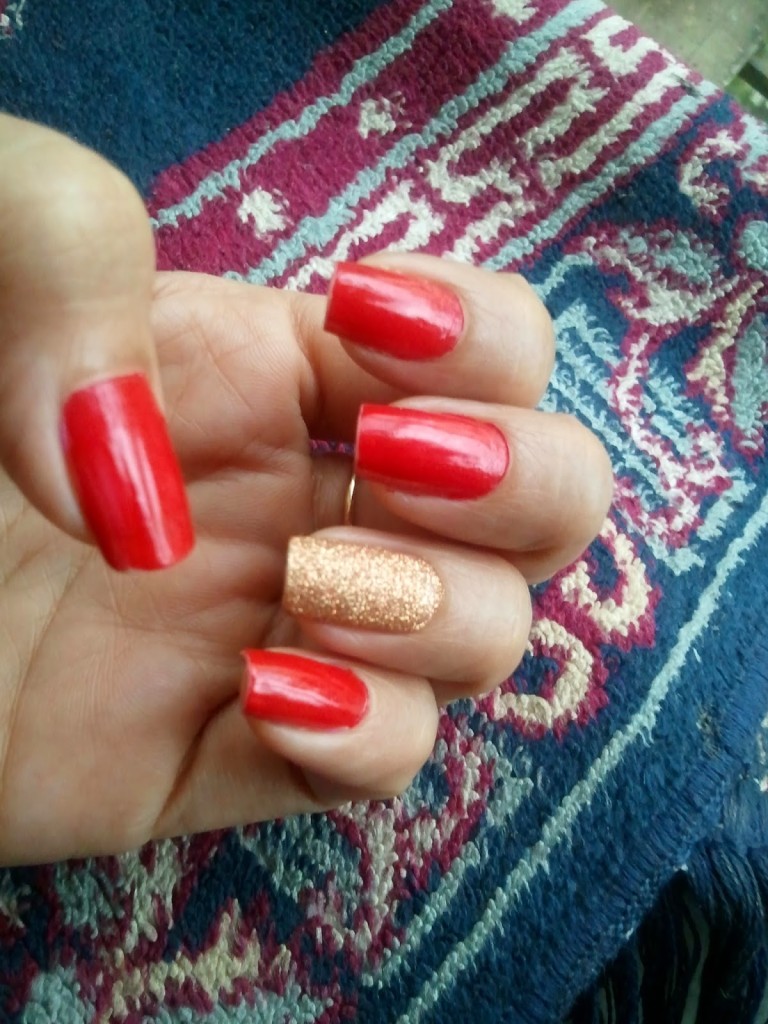 |
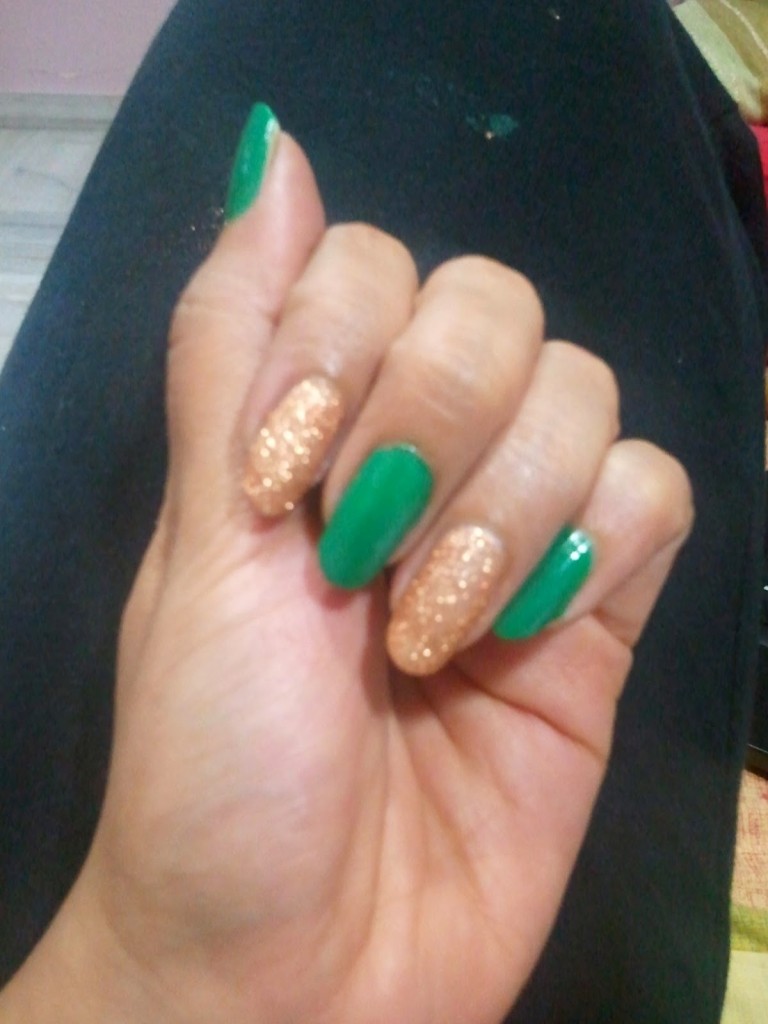
| Add some Glitter |
 |
| Add some shine |
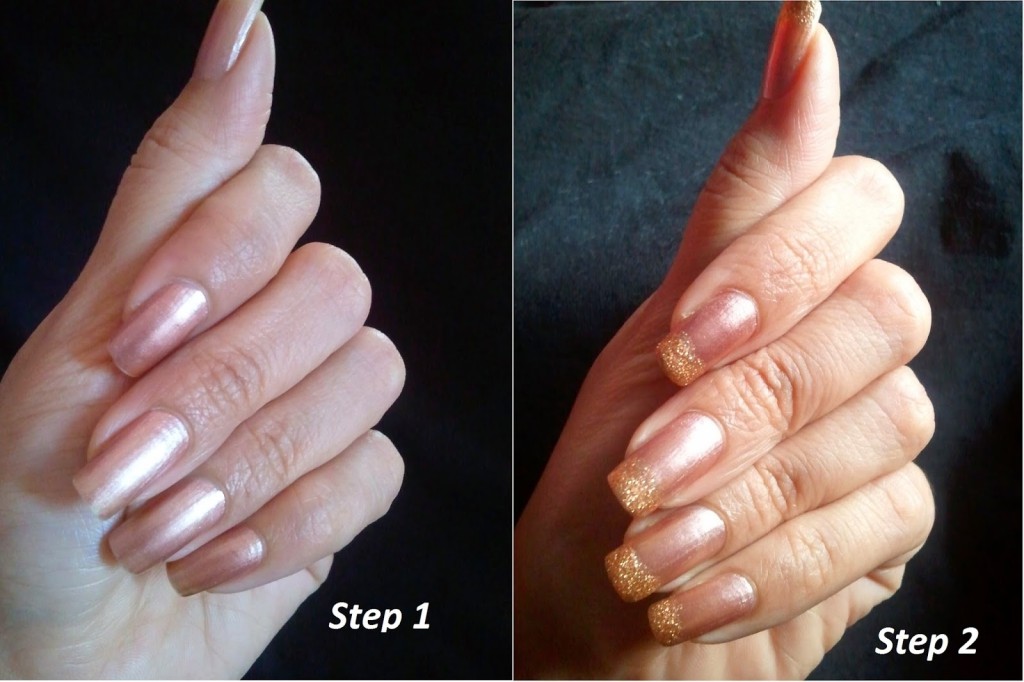
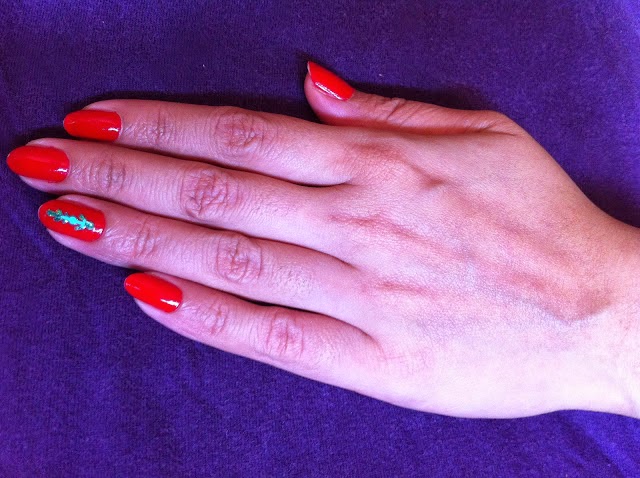
Glitter:
Choose a favourite color and colour all your nails except one/two with that colour.
On that one nail/s that you left empty, use glitter nail polish.
Choose a favourite color and colour all your nails except one/two with that colour.
On that one nail/s that you left empty, use glitter nail polish.
 |
| Some more glitter |
Glitter Tips:
Colour your nails with your fav colour and after they dry, colour the tips of
your already coloured nails with some glitter nail polish.
Colour your nails with your fav colour and after they dry, colour the tips of
your already coloured nails with some glitter nail polish.
 |
| Polka Dots… |
 |
| Its lovely, isn’t it? |
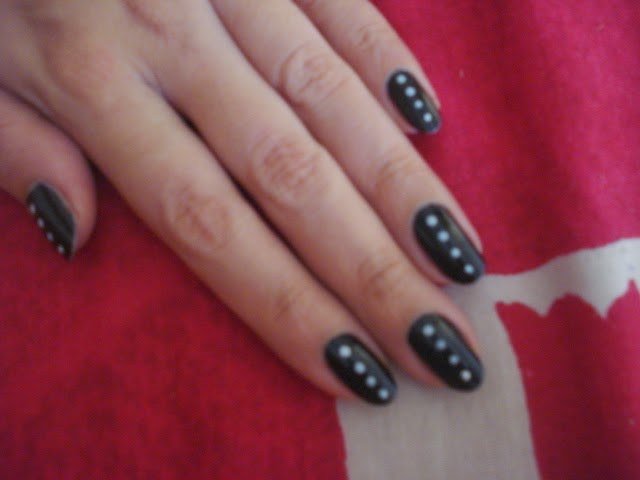
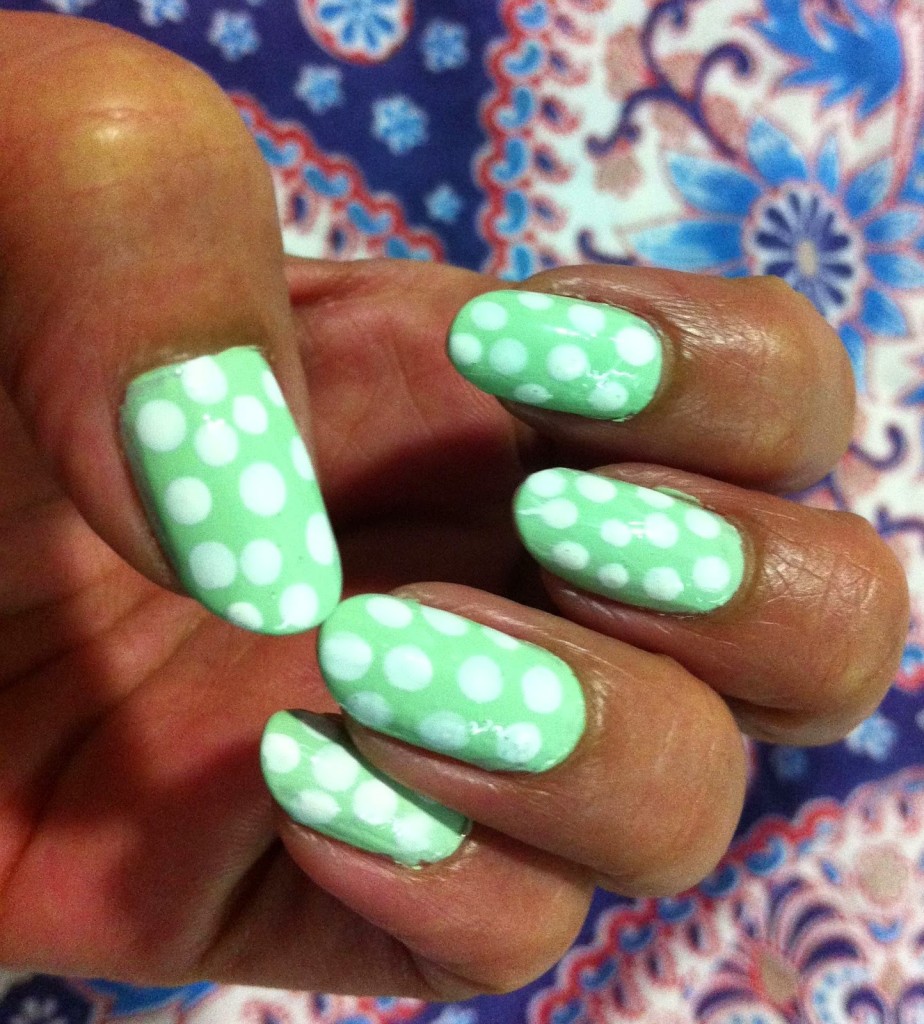
Polka dots: This
is where your real nail art starts. I kind of have a feeling that every nail
art enthusiast starts with the polka dots nail art. You don’t need fancy
tools for this. A match stick or the blunt side of a boppy pin should be good
for beginners. Dip the match stick or boppy pin in your favourite nail paint
and make dots on your coloured nails. Let them dry and finish off with a top
coat for longer lasting nail colour.
 |
| I love this one,so simple and pretty! |
 |
| Adding a spark to the Red! |
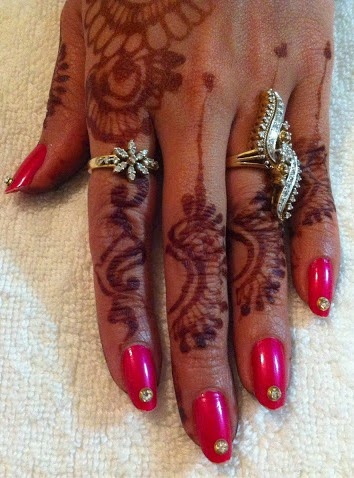
Bindi nail art:
This is again the most simple nail art I did when in college. All you need is bindis. Colour your nails with your fav nail paint and after it
dries up, stick your fav bindis on your nails and finish with a top coat.
This is again the most simple nail art I did when in college. All you need is bindis. Colour your nails with your fav nail paint and after it
dries up, stick your fav bindis on your nails and finish with a top coat.
 |
| That’s cool! |
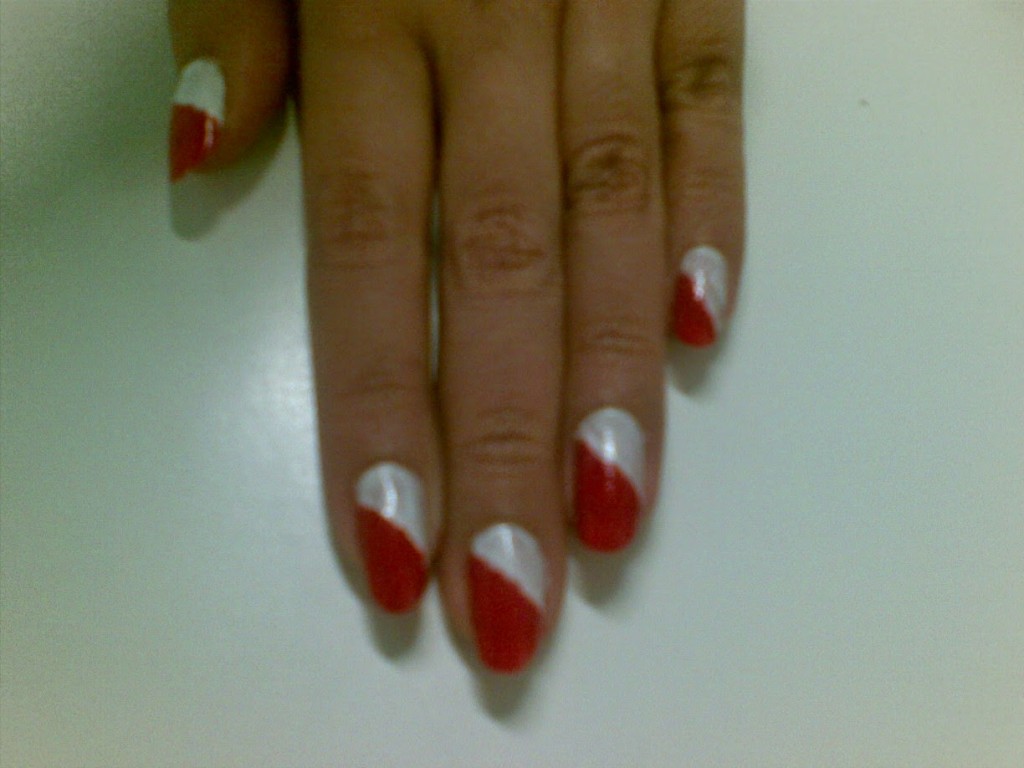
Scotch tape: This
technique needs a little bit of patience. Colour your nails preferably with a
lighter colour. Then cut small strips of scotch tape and put them on your dried
coloured nails in a position that leaves yourr nail tips open. Now colour the
top portion of your nails using the scotch tape as a guide. It is absolutely okay,
if your nail colour goes on your tape as well.
After waiting for
a minute, slowly pull off the scotch tape. You have perfectly manicured nails.
This is the same technique that is used for French manicure.
a minute, slowly pull off the scotch tape. You have perfectly manicured nails.
This is the same technique that is used for French manicure.
That’s it for
today. Hope you guys enjoyed this post, as much as I did drafting it.
today. Hope you guys enjoyed this post, as much as I did drafting it.
For more nail
art inspiration visit this
link.
art inspiration visit this
link.
About Aditi
Aditi loves art, fashion, music, travelling, books and sarees. She is an entrepreneur by profession and a writer by passion… She is a lifestyle blogger and writes at So-Saree. If you have any questions or just wish to say Hi, write to her at sosareee@gmail.com
PS: Hope you enjoyed this vibrant post from Aditi. Do let us know how much you loved it in the comments here.
Wishing you all a Happy Holi with friends and family!
Love and Gratitude,
Gayu
Happy Holi to you and your family
cool post!! Happy Holi!
http://www.docdivatraveller.blogspot.in